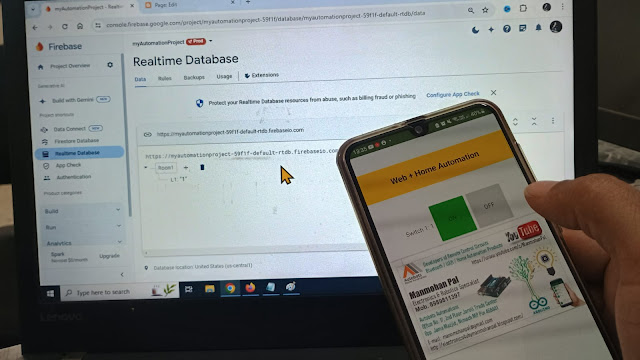
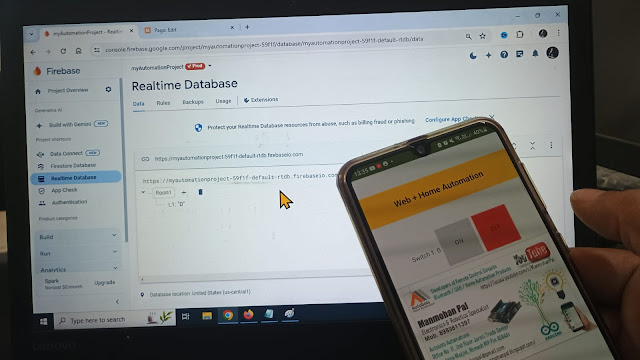
Day 17- Firebase and MiT App- Creating Firebase Project and Realtime Data base.
What we will learn in Today's Class
1. how to create Firebase project
2. how to create Realtime database in firebase
3. from where to get Secret key(token ) and URL of data base
4. how to configure MIT app with Token, URL and Bucket
5. Test App with Firebase in Realtime over the internet
This project aims to develop a home automation system that gives the user complete control over all remotely controllable devices of his/her home using IOT Android app.
There are many third party online server and platforms available for showcasing the data of your IOT project
Why You Select Firebase
Firebase provides a quick way to persist sensory data collected at the device level, and it works great with the Android APIs, which is supported by Android Things. A lot of mobile and device programmers that I have come across struggle with server side programming. Firebase can really help bridge that gap and make it easier. It will be interesting to see developers use its offline features. If you are new to IoT or in general any device that collects data and needs to transmit it over networks, the golden rule to be assumed is that network connectivity cannot be assumed. As a result, you will need to collect the data offline and when network is available, transmit this over to your server. Firebase with its offline feature can really make this simple for a lot of developers.
Firebase has a ton of features including Real-time Database, Authentication, Cloud Messaging, Storage, Hosting, Test Lab and Analytics but I’m only going to use Authentication, Real-time Database.
Project is divided in 3 parts
1. Creating firebase account
2. App making
3.Ardunio program
let’s start with STEP1:
Google Firebase Console (Click HERE)
Login using your Google account.
create a project, and get the Firebase HOST and Firebase AUTH keys, which we will set in our program.
First go to https://console.firebase.google.com/ and login
Click on Add project


Comments
Post a Comment